
We’re the team at Heaven Automotive, and we see drivers ignore charging issues until a car won’t start. Most owners think the battery fails first, but the battery depends on the alternator to keep it charged while the engine runs.
Early signs often look random: an indicator light, dimming headlights, odd electrical glitches, strange noises, or a burning smell. These symptoms point to the charging circuit before a full no-start event.
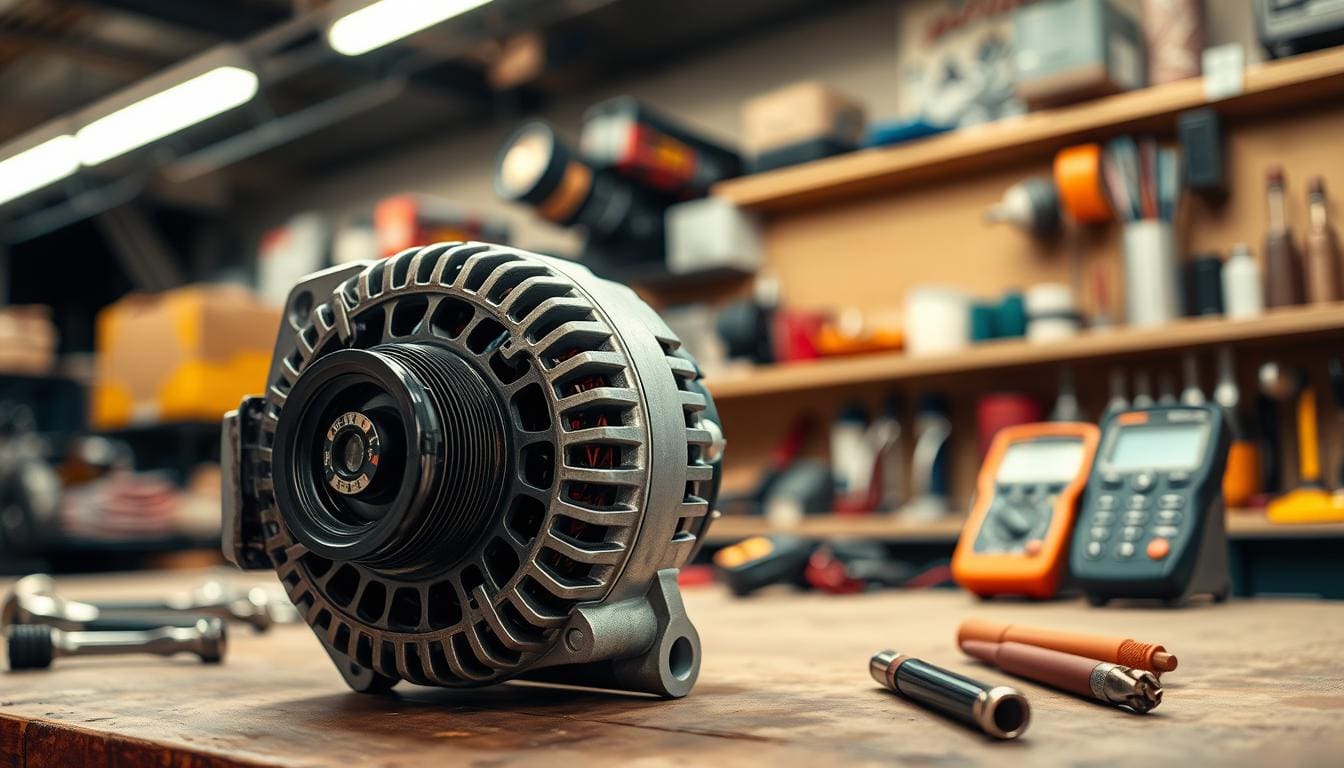
In this guide we explain what an alternator replacement means for a modern car: restoring steady voltage to protect electronics and keep the battery healthy. We’ll show safe checks you can do, help you avoid swapping parts that are fine, and outline when testing or a pro diagnosis saves time and money.
When you need a clear plan, we can diagnose and fix charging problems. Trust us to identify the root cause and recommend the right service for your vehicle.
Key Takeaways
- Random electrical issues often signal charging trouble before a no-start.
- A failing unit can harm the battery and sensitive electronics.
- One warning light doesn’t always mean the battery alone is bad.
- Do simple, safe checks first; testing confirms the fault.
- Heaven Automotive can diagnose the system and recommend the proper repair.
What the alternator does in your car’s electrical system
First, we’ll describe how the charging unit supports electronics and keeps your battery healthy.
The charging unit supplies voltage for lights, infotainment, and accessories while the engine runs. It keeps the battery topped off so the vehicle can start and so modules get steady power.
How it keeps the battery charged while the engine runs
The unit produces current as the engine turns the drive. That current feeds the battery and the car electrical system at the same time. If output drops, voltage becomes unstable and electronics see stress even when the car still starts.
Why the starter, battery, and charging unit work together
The starter draws from the battery to crank the engine. The battery depends on the charging unit to recharge during normal driving. A weak battery can mimic a bad charging unit, and a failing charging unit can kill good batteries.
| Component | Primary job | Diagnostic focus |
|---|---|---|
| Starter | Cranks engine | Load draw, connections |
| Battery | Stores energy | State of charge, cold cranking amps |
| Charging unit | Supplies voltage while running | Output voltage, belt, wiring |
What we test: voltage at rest and with engine running, belt condition, and wiring to confirm which part is at fault before buying parts.
Early warning signs of a failing alternator we don’t want you to ignore
You’ll usually notice subtle signs—lights, sounds, or smells—before the charging system fails completely.
Battery/charging indicator light turning on
The indicator light means the charging circuit is not keeping voltage where it should be. That often points to the alternator or its wiring rather than the battery alone.
Weak or dimming headlights and interior lights
Lights that dim at idle and brighten with higher RPM are a classic sign the charging output is low. This is most obvious at night.
Electrical malfunctions across accessories and modules
Radio glitches, slow power windows, or random infotainment resets can show the electrical system is not getting steady power.
Strange noises near the charging unit
- Squealing = belt or pulley slip.
- Grinding or growling = worn bearings inside the unit.
Burning smell
A rubber or hot-metal odor can mean belt slip or heat buildup at a pulley. That’s a safety concern and needs prompt attention.
Don’t ignore multiple signs together. Even if the car still runs, a sudden stall or no-start can follow. We can test the full charging system at Heaven Automotive and confirm the real cause before any repair or replacement.
Quick checks you can do right now before you replace alternator
We recommend a short, safe inspection before you decide to replace alternator parts. These fast checks take minutes and cut down guesswork. If anything feels unsafe, stop and bring the car to us at Heaven Automotive.
Look and listen under the hood
Open the hood and use a flashlight. Check the belt for cracking or glazing and the serpentine belt routing for wear.
Listen for grinding or squeal near the front of the engine. A wobbling pulley or loud bearing noise is a clear sign you need service.
Watch lights while you gently rev the engine
If headlights or dashboard lights brighten when you raise RPM slightly, the charging output may be unstable. That pattern often points to the charging unit rather than a lone battery fault.
Rule out a bad battery with a quick test
Always have the battery tested before you replace alternator components. A battery that won’t accept or hold a charge will mimic charging problems.
Tools you need: flashlight and basic hand tools. Avoid probing live wiring. If you find a burning smell, loud grinding, or severe flicker, schedule immediate service.
When in doubt, bring the car to us. We’ll test alternator output, inspect belts and wiring, and recommend the right next step in the process.

How we test an alternator and confirm the real cause
Our approach focuses on systematic testing so you don’t pay for parts you don’t need.
We begin by verifying the battery state and resting voltage. Next, we measure system voltage with the engine running and under load to see if output stays steady.
Starting-system checks we perform
- Confirm battery health and cranking voltage.
- Test the starter and ignition switch for proper operation.
- Inspect drive belt condition and tension, since a slipping belt cuts output.
A dead battery does not automatically mean the charging unit is the problem. Age, parasitic drain, or a weak cell can mimic a charging fault. We always test the battery first before installing new parts.
| Test | What we check | Why it matters |
|---|---|---|
| Battery load test | Cold-crank amps and charge acceptance | Rules out a weak battery that masks symptoms |
| On-vehicle voltage test | Voltage at idle and under load | Shows real-world output under heat and load |
| Bench test | Unit test off the vehicle | Good for confirming a bad unit, but can miss intermittent faults |
We recommend a bench test at an auto parts stores only as a confirmation step. Comparing test data to the old alternator symptoms prevents endless parts swaps and lowers total repair cost.
When alternator replacement is the right repair choice
A thoughtful repair choice comes from symptoms and testing—not just miles or model year. We avoid guessing and focus on clear evidence that the charging unit is failing.
Clear failure signs include consistent low charging voltage, repeated battery drain while driving, or test results that confirm poor output. These issues show the unit isn’t keeping the battery charged and justify a full replacement.
Why not replace by the clock? There’s no industry standard cycle. Replacing parts based only on years or miles can be unnecessary on many vehicles unless symptoms or tests support it.
One common pattern is a healthy battery that keeps dying. Jump-starts work, but the car later stalls because the unit never recharged the battery during operation. That sequence points to a charging fault, not the battery itself.
- Cost thinking: misdiagnosis raises total cost—testing first usually saves money.
- What changes after we replace alternator: stable voltage, reliable starts, and fewer electrical glitches.
When unsure, bring the vehicle to Heaven Automotive. We’ll confirm the cause so you replace only what’s actually failing.
DIY alternator replacement: what’s easy, what gets tricky, and how to stay safe
We see many drivers start this job because it’s tidy work—no fluids and mostly bolts plus electrical connectors.
Why the job is often straightforward
Most steps follow a clear sequence: disconnect battery, release belt tension, remove belt, unplug and unbolt the unit, then reverse to install.
Safety first
Always disconnect the battery before touching wiring. That prevents shorts, sparks, and damage to sensitive electronics.
Access can change everything
Some cars give top-side access under the hood. Others need the wheel off or working “blind” behind the accessory drive. A Ford Mustang often has tight packaging that makes the job harder.

Serpentine belt basics
Locate the tensioner, use the correct square drive, release tension smoothly, and take a photo of the belt routing before you remove it.
Tools and useful extras
- Breaker bar or serpentine belt tool for leverage
- Extensions and angle adapters for tight fasteners
- Long sockets and a torque wrench for final bolts
While you’re in there
Consider replacing the belt and, when worn, the tensioner to avoid a comeback repair. Check nearby pulleys like the power steering drive for wear.
“If access is difficult or you want a cleaner, faster repair, bring the car to us at Heaven Automotive.”
Parts, pricing, and planning: how to avoid surprises at the parts counter
Knowing what to ask at the parts counter saves time and unexpected dollars.
New vs. rebuilt units: A new unit arrives ready to install and usually carries a longer warranty. A rebuilt alternator costs less up front but requires returning the old core. Stores add a core charge to the sale as a refundable deposit until the old part is returned.
Why the VIN matters
Bring your VIN to the parts counter. Mid-year parts changes mean two cars with the same model year can need different parts. The VIN avoids a wrong-fit part and wasted money.
Compare before you button up
Before installing new hardware, compare the old alternator to the new one: mounting ears, pulley alignment, plug type, and amperage rating. Verifying fitment first prevents return trips and extra cost.
| Option | Typical out-the-door cost | Pros | Cons |
|---|---|---|---|
| New | $200–$450 dollars | Longer warranty, drop-in fit | Higher up-front cost |
| Rebuilt alternator | $120–$300 dollars | Lower price, eco-friendly core reuse | Core charge deposit until return |
| DIY parts + tools | $100–$350 dollars | Can save money if you have tools | Risk of wrong part, more time |
Plan for total cost: include parts, possible belt or tensioner, and any specialty tools. Keep receipts and packaging until the job is done.
“If you prefer, we at Heaven Automotive can source the correct part by VIN and handle installing new units quickly and correctly.”
Why many drivers choose a pro repair instead of spending the time and money on tools
Most drivers start believing an easy replace is a quick afternoon job. In practice, the work often gets harder when access is tight, bolts seize, or hidden clips break. We see that more often than not.
Convenience and clear expectations
We give a written estimate and a simple repair plan before we begin. That plan lists tests we’ll run, like verifying the alternator, starter, belts, and ignition switch. It lays out cost and the expected way the work proceeds.
Time savings when access is difficult
When the job turns knuckle-busting, specialty tools and experience save hours. Removing a wheel, pulling an inner splash shield, or dealing with seized bolts slows DIY repairs fast.
Choosing us often finishes the work sooner and avoids extra parts or guesswork.
What great service looks like
Real customer feedback centers on punctuality, clear communication, and doing the job correctly. We call with findings, explain the process, and complete the repair efficiently.
“They told me what failed, showed test numbers, and finished earlier than expected.”
| Why choose a pro | What we deliver | Benefit |
|---|---|---|
| Confirm cause | Battery and output testing | Avoids unneeded parts |
| Clear estimate | Written scope and cost | No surprises |
| Skilled access work | Specialty tools and experience | Saves time and protects wiring |
We reduce uncertainty by explaining what we found, what we recommend, and exactly what the repair solves for your cars. In many cases, choosing a pro is the smartest way to protect modern electrical systems and get a clean, correct result.
Conclusion
Strong charging keeps your car reliable; spotting early signs lets you avoid a sudden no-start.
Watch for the most reliable signs: the battery light, lights that dim at idle, odd electrical glitches, strange noises, or a burning smell. These often move from mild flicker to a drained battery and an eventual no-start.
Take safe next steps: do a quick visual check, test the battery, and confirm charging output before you decide to replace alternator parts. Check belt condition and routing too, since a slipping belt can mimic failure or cause repeat trouble after a repair.
Correct diagnosis protects the battery and prevents repeat breakdowns. If you see warning signs or want a professional test or replacement, hire Heaven Automotive and let us fix your vehicle right the first time.